Pasteurizing jars does not always look the same. Today we will show you what rules must be followed to make the pasteurization of Weck jars a complete (and tasty) success. Let's get started!
A few words...
to make things clear in the first place. Pasteurization is a decontamination process. That is what it looks like in a nutshell. We pasteurize the products so that we can store them for a long time and reach for them only when we feel like it - without looking at the expiration date.
During pasteurization, we eliminate the vast majority of bacteria that contribute to food spoilage. In other words, we preserve our products. At home, the decontamination process is easiest to carry out with high temperature - water or air. In the case of "twist" jars, i.e. those with a screw-on metal lid, pasteurisation can be carried out both in a pot with hot water and in the oven.
Weck jars require a slightly different approach...
Why can't you pasteurize the Weck jars in the oven?
How to pasteurize Weck jars?
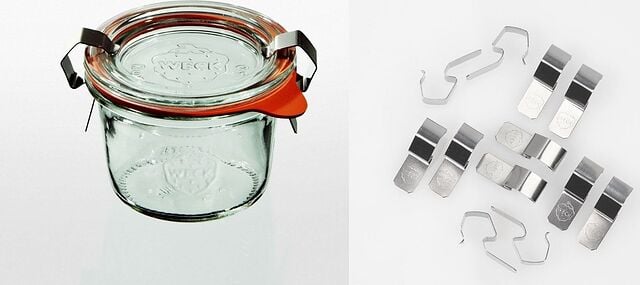
Weck jars operate on a different basis than twist jars. They consist of three elements: a glass jar, a glass lid and a gasket. Importantly, the lid is not tightened. All you need is a high temperature and a decent elastic band for a jar to be sealed forever.
Shall we get started? Are preserves already made? If not, you still have time to prepare them - have a look at our Magazine: Put a lid on summer, seal it and keep it forever to learn the basic things about making preserves.


Preparation is prevention
Step 1 - are your sets complete?
One set should contain:
- a weck jar with a lid,
- a gasket with a diameter matching the jar,
- two pins - necessarily two of them!
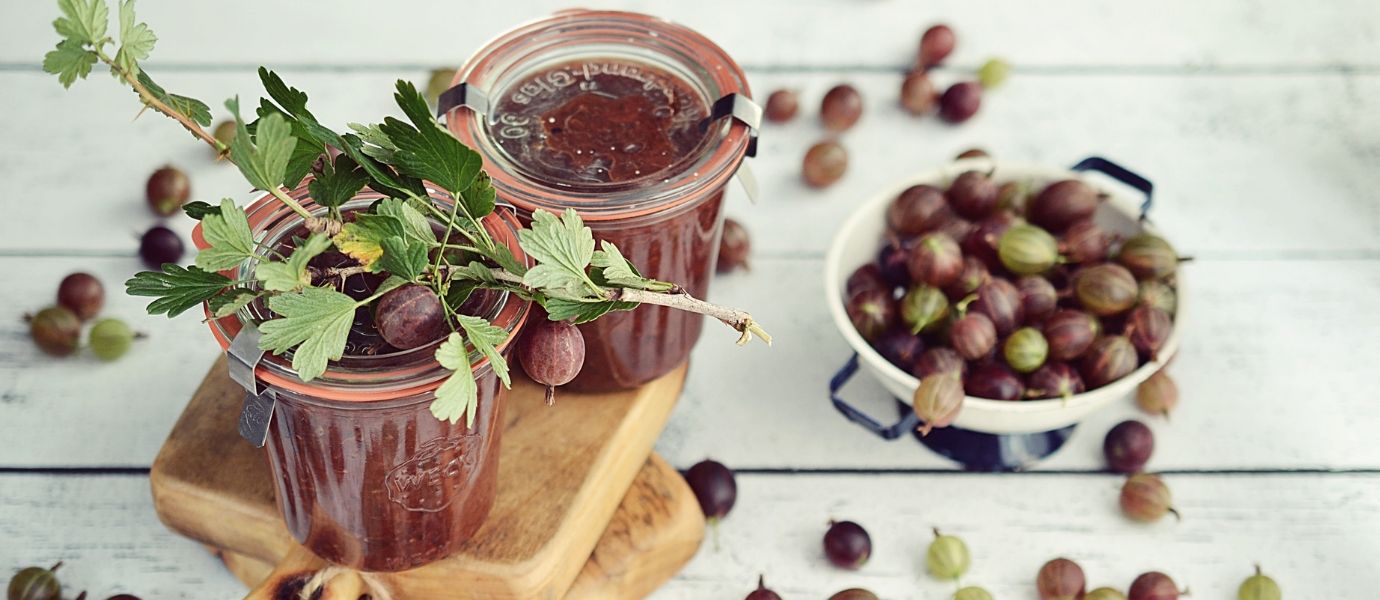
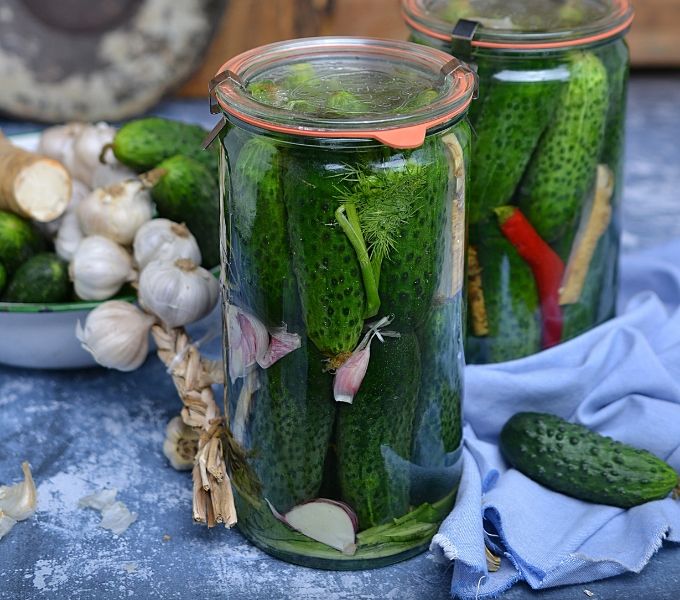
Think about how many such sets you need - how many preserves are waiting for pasteurization? It is important to take into account that weck jars do not fill to the brim! This is very important - leave 1 cm of empty space in each jar.
How about a gift? If you are thinking about giving someone a jar with your sweet, home-made "handicraft" in the future, use decorative jars, in which the products will look even more appetizing.
Step 2 - preparation for weck jars pasteurization
- Thoroughly wash the jars and lids, and then scald them out with boiling water or in the oven. If you choose the second option, remember to place the wecks in the oven at the beginning of the heating - otherwise they may crack when placed in an already heated oven!
- Put the gaskets into the cold water to cool down.

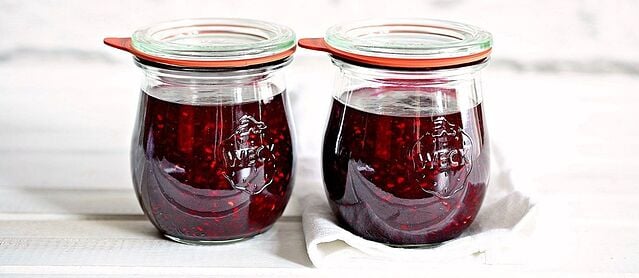
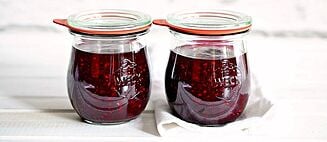
Step 3 - filling the wecks with preserves
- Remember about the rule of the empty space between the preserve level and the edge of the jar!
- Leave up to 1 cm of free space if you put hot jam, marmalade or confiture in the jar.
- Leave up to 2 cm of space in the case of preserves which are likely to expand in the jar, as well as liquids such as juices or purées.


Step 4 - close it!
White glove test
- Put the gasket on the lid - fit it tightly!
- Clip the edge of the jar with the lid. Place the clips on the opposite sides of the lid. They must snap onto the protruding edge of the jar.
Step 5 - weck pasteurisation
- Follow the recipe (and remember that pasteurizing your wecks in the oven can end up badly - the gaskets can fall apart).
- The length of pasteurization depends on the type of products, so we suggest following the recipe. However, there are some general rules that are worth remembering:
a) Pasteurizing the fruit generally takes less time than pasteurizing vegetables.
b) The bigger the pieces/jars, the longer the pasteurizing time should be.
c) Before proceeding with pasteurization, the bottom of the pot in which we will "cook" the wecks should be covered with a cloth. It will cushion the hitting of the wecks against the pot during cooking, when the jars start to "jump" due to the boiling water.
d) Leave some space between the jars to allow water to flow freely.
Overzealousness ends badly


Step 6 - Weck does not like standing on its lid!
NEVER put the wecks upside down!
As we have already indicated at the beginning, wecks are subjected to different laws than twist jars :)
- Once pasteurization is complete, leave the wecks at room temperature until they are completely cooled (24 hours). Only after this time you can remove the pins.
- Keep your preserves in a dark and cool place.
- Do not forget to stick labels on the wecks! In winter, these will remind you of the contents of the jar.


We hope that we have been able to explain to you how to pasteurize the wecks in a smooth and painless way. We wish you successful preserves, jam, marmalade, plum jam and pickles!
Categories you may be interested in: